Well,
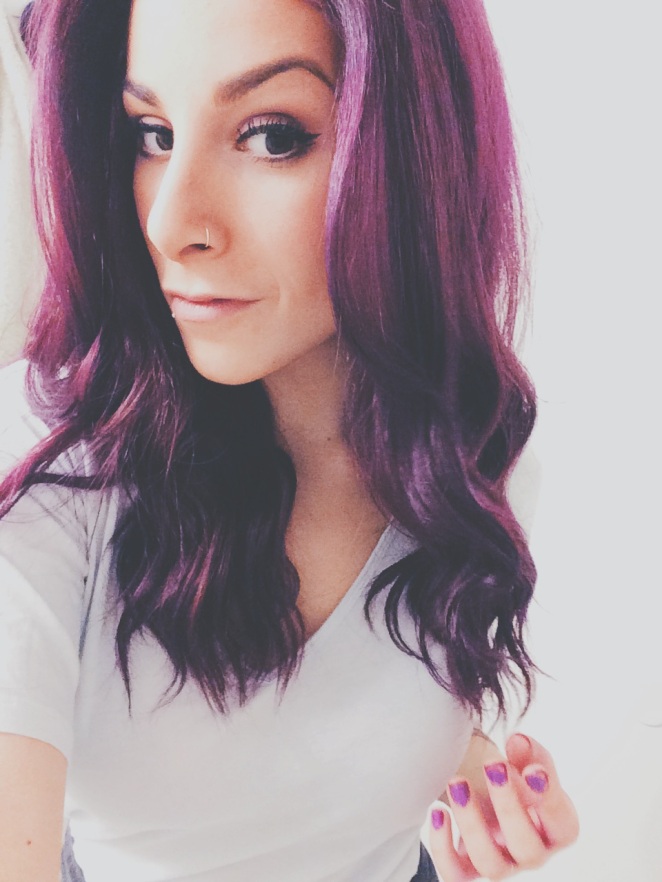
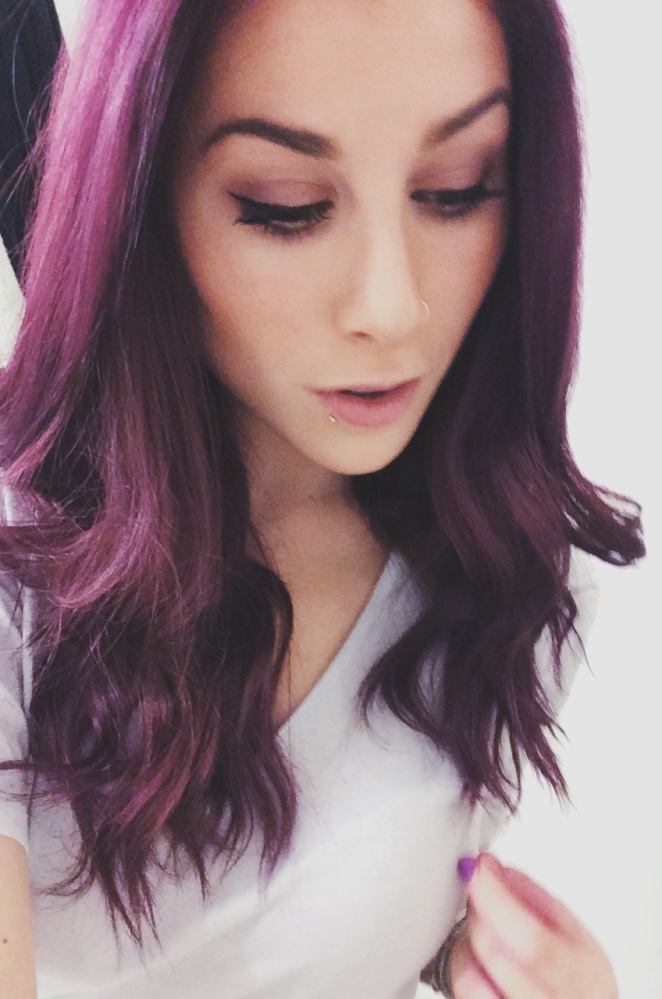
i guess it’s safe to say that my natural brunette roots aren’t really my thing anymore. As some of you may know, i had my hair dip dyed almost all summer up until about two months ago, when i decided that the effort needed to keep up the ever changing colours was too much for me with school happening. BUT… i got bored. So this purple orchid happened. I have always had a fascination with all over colour but i never thought that i would do it myself.
I was having one of those days where you feel like nothing looks good on you, your hair isn’t working, your eyeliner wings will NEVER… EVER match, and i decided that maybe it was time for a change. I went out to the beauty supply store and bought myself some bleach, developer, red violet permanent ‘i-color’ dye and two bottles of ‘vero k-pak, colour intensity’ semi-permanent dye, in orchid. This all went smoothly besides the part where the beauty supply associate underestimated the thickness of my hair and sent me home with an insufficient amount of hair dye. This lead to a ‘could have been avoided’ trip back to the supply store with only my roots and half of the first layer of hair dyed purple…i got some odd looks, lemme tell yah. REGARDLESS, I’m quite happy with the result and if you’re interested in how i achieved this colour, read on.
Step 1: BLEACH… EEEEEP 😐
Every ‘not blondes’ utter fear is bleaching their hair. “What in God’s name will i look like? Will my dark locks will be gone forever? Will my hair fry, catch on fire upon my head and fall out!?!?!?!?’ In my case it was the fact that i looked very much like eminem, back in the day, which scared me. My roommate applied the bleach all over my head and i waited about 30 minutes. Washed this itchy mess off of my head and was left with a lovely, brassy yellowish.. orange colour. BUT no matter, i was trying to achieve a warmer colour anyways. If you are trying to achieve a lighter, cooler colour, like a purple pastel for instance, you may need another round of bleach and a cool toner as well, to rid your hair of the brassiness.
Step 2: PERMANENT DYE
Note, this step is very necessary if you want to shorten the amount of upkeep you will have to do for this colour in the future, when it fades. The purpose of the permanent dye is to base your hair with this colour so that when the vibrant colour on top of it fades, it will only fade to the permanent colour, in my case ‘red violet’, not the bleached version of your hair. A lot like the last step, i simply mixed my ‘Red Violet, i-color’ brand colour, in with the 30 volume developer, painted it all over my head and instead of waiting the required time of 25-30 minutes, i left it on for around 40, knowing how my hair tends to absorb colour. When it was washed out, my hair was left a very red colour which prompted my loved ones to start calling me Ariel for the night and singing ‘under the sea’ every time i would cross their paths.
Step 3: SEMI-PERMANENT DYE
The last step consists of dying on top of the permanent colour with the semi permanent dye. Note, i waited a day to start the last step just to give my hair a little break from the bleaching/colouring process from the day before. The dye that i used was ‘Vero K-Pak, colour intensity’ brand, in orchid. The colour is quite vibrant but that is exactly what i wanted. So, the same process once more, painting the dye onto my head and leaving it for about an hour turned into my marvellous hair colour in the photos above.
This process takes a fair amount of time but it was much cheaper (I spent $50 in total) than doing it at a salon and i can also brag to people when they ask what marvellous hair dresser did this to my head. 😉 Hope you all enjoyed this post, and enjoyed my purple locks as well.
xo
-G

